Archives of Loren Williams Fly Tying Tutorials.
Mickey Finn
Fly and Photos by Loren Williams
My internet research indicates that the Mickey Finn was developed in the 1920 or 1930's, probably on the East coast. Originally it was called the Red and Yellow Bucktail, can't imagine why!
As the story goes, John Alden Knight was one of the flies big fans and he had introduced it around. The name was changed to the Assassin since folks were finding it especially deadly. About the same time, Rudolph Valentino was reportedly killed by a spiked drink (aka slipped a "mickey finn") . Soon after, a writer by the name of Gregory Clark renamed the fly the Mickey Finn and published some articles about it.
The popularity of the fly blossomed, especially in New York.
Bucktail streamers are traditional streamer patterns comprised of common materials fastened sparingly to long-shanked hooks. Either in aggravating or imitative color schemes, bucktails offer enticing action that fish seem very fond of. Commercially tied patterns are often tied too bulky which kills the action and profile and makes a fly that is too buoyant. Often calf (kipp) tail is substituted as is marabou. Both are worthy "in a pinch" materials but neither offer the complete set of characteristics that bucktail does.
As we tie this pattern, please remain focused on laying a smooth underbody and holding discipline to the formation of the head. A smooth tinsel body and small head will be key to an attractive well-tied bucktail. Of paramount importance to this fly's effectiveness will be the sparse dressing. Too much hair is common and detrimental.
Bucktails seem to have fallen by the wayside over that past decade or so but are starting to come back into their own. Learn how to tie them and you'll have opened a new door into fly tying.
Material List
Hook: Mustad 80400 shown, 3xl straight eye streamer hook preferred
Thread: Black Danville Flymaster (flat nylon is important)
Tail: red wool
Rib: fine gold wire
Body: Medium Flat Gold Holographic tinsel (tradition is silver rib and tinsel)
Wing: yellow-over red-over yellow bucktail
Click photos to enlarge!
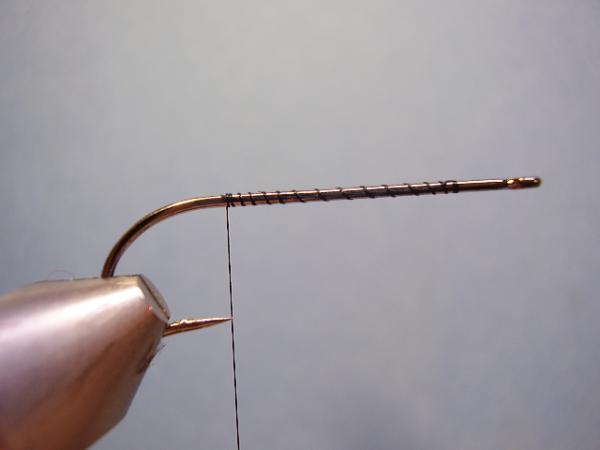
Place the debarbed hook in your vise, be sure to seat the gap well into the jaws. Start your jam knot well back from the eye and lay down a thread base.

Return the thread to the start of the jam knot...
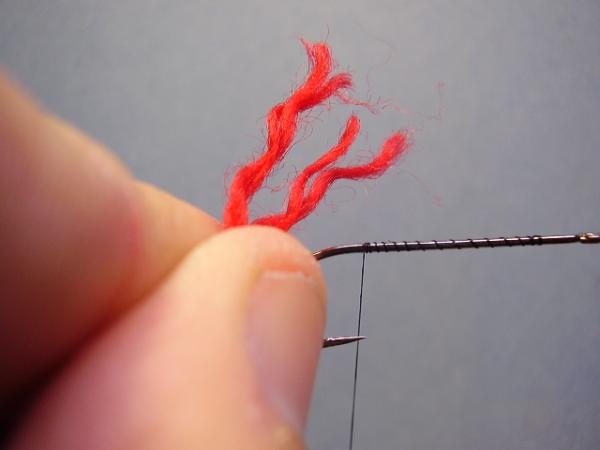
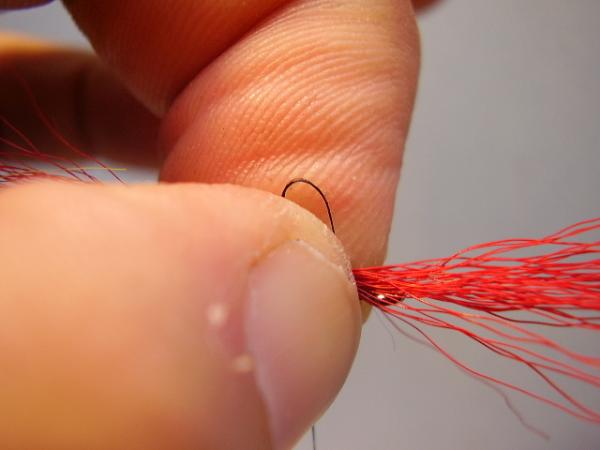
Select a short piece of red wool yarn and split it into 2-strand sections.
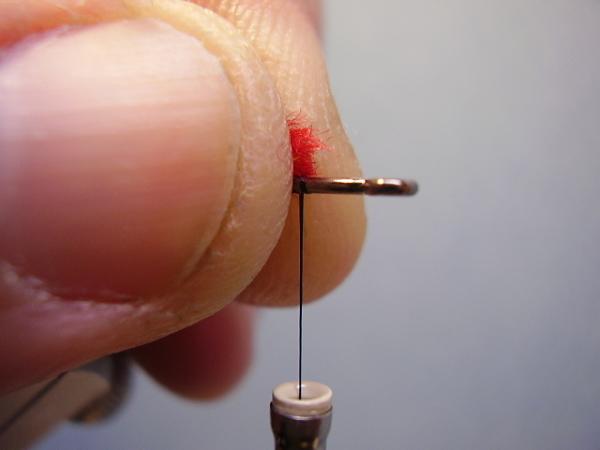
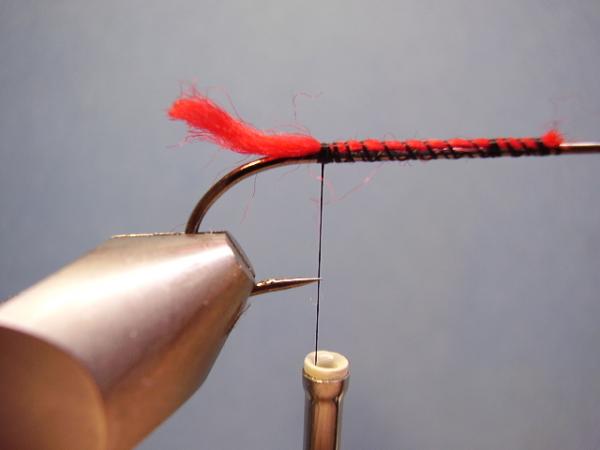
...and square the ends of the red wool and secure it to the hook. Keep the last part of the shank, behind the eye, open.
Gently pull up on the yarn as you wrap back to the rear, this will keep the yarn from rolling onto the far side of the hook.
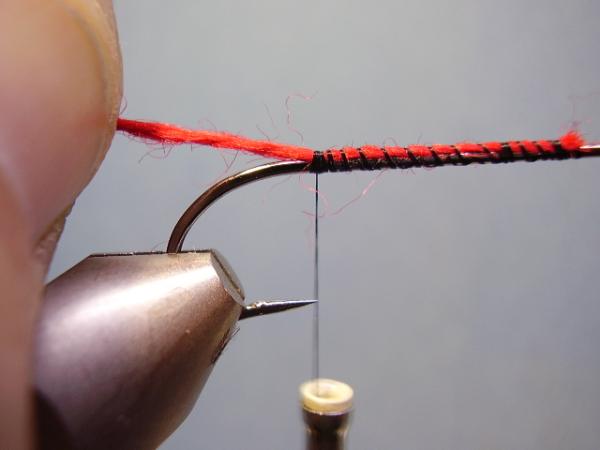
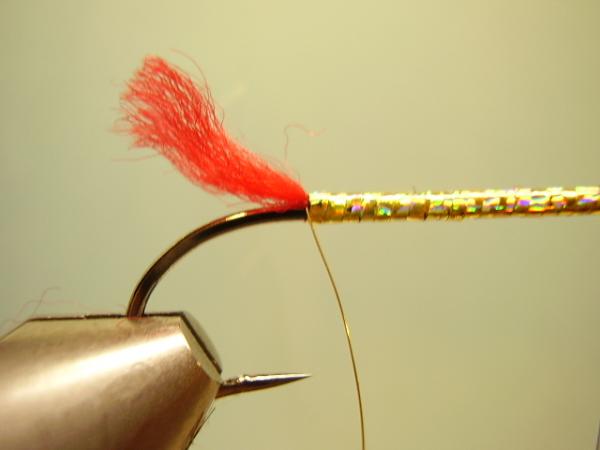
3 tight wraps at the very end will secure the yarn. End just above the hook point.
Clip the yarn to be even with the bend of the hook.
Take the thread back to the front and secure a length of fine gold wire to the rear of the hook.
Bind it down all the way to the tail and return the thread forward.
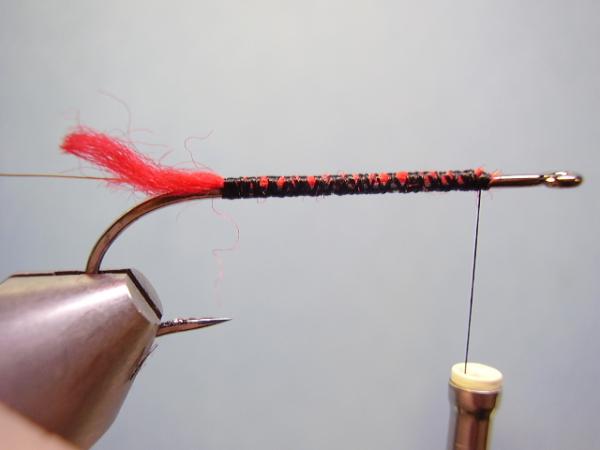
Select a longish piece of flat tinsel and secure it to the near side of the hook at the front.
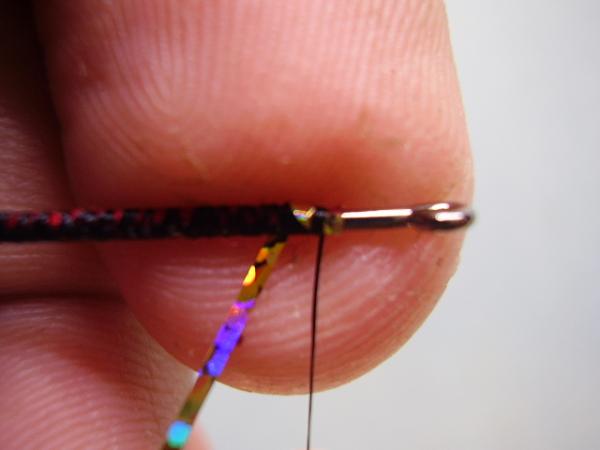
Make a 45-degree crease in the tinsel as you start to wrap it to the rear in tight, touching turns.
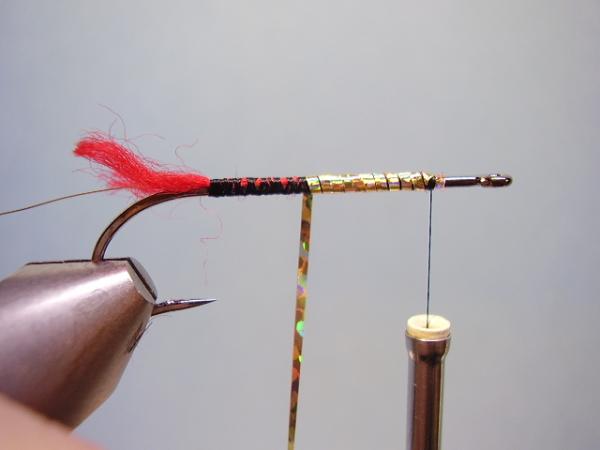
The turns do not need to be perfect, but you want to avoid gaps or humps so keep the material taught.
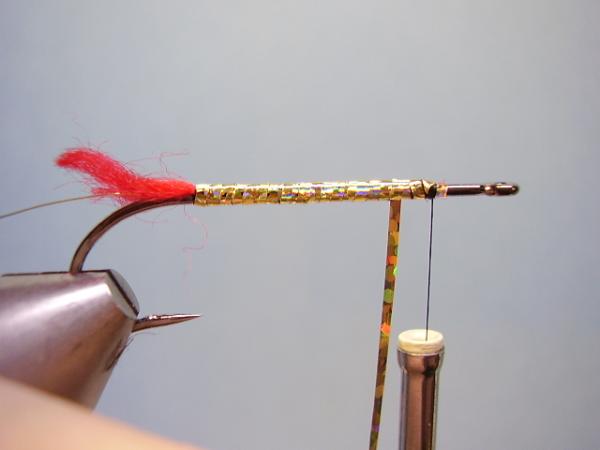
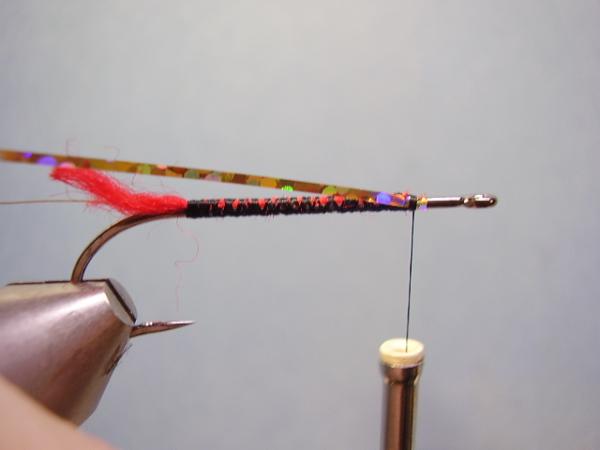
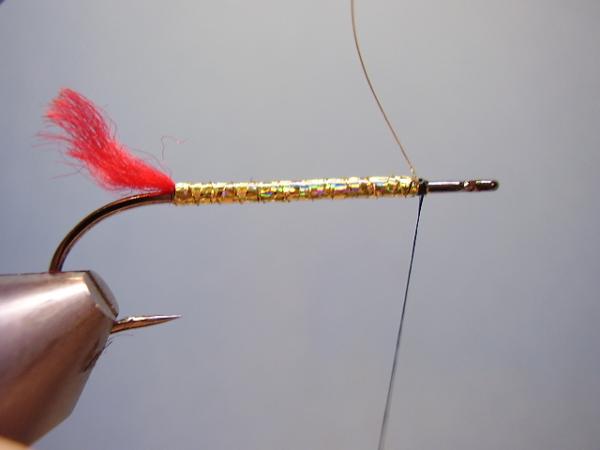
Once at the rear, being sure you have covered all exposed thread wraps, advance the tinsel forward. These wraps do need to be precise, touching, and tight.
Last wrap passes in front of the tread then is pulled back slightly and secured with 2 tight wraps.
Clip the excess.
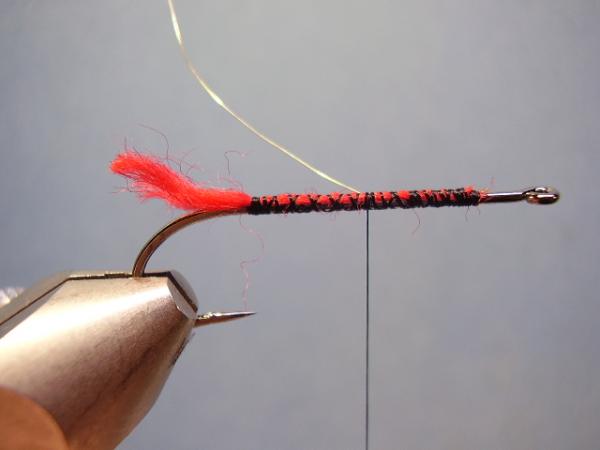
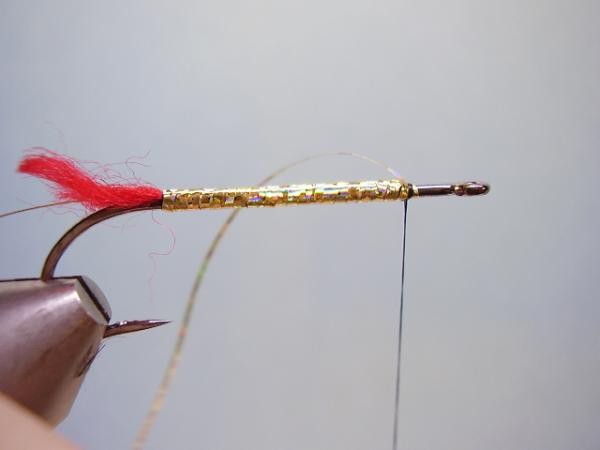
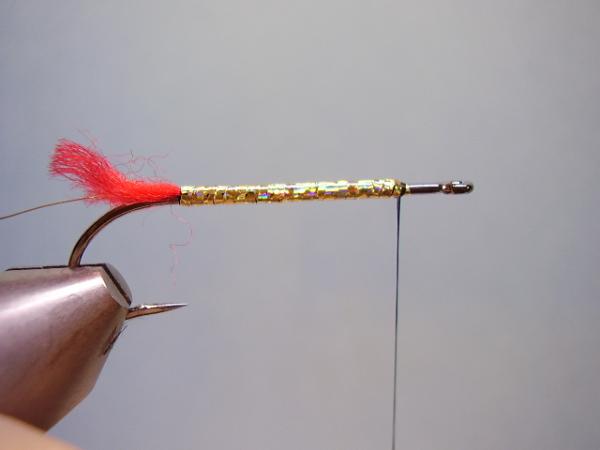
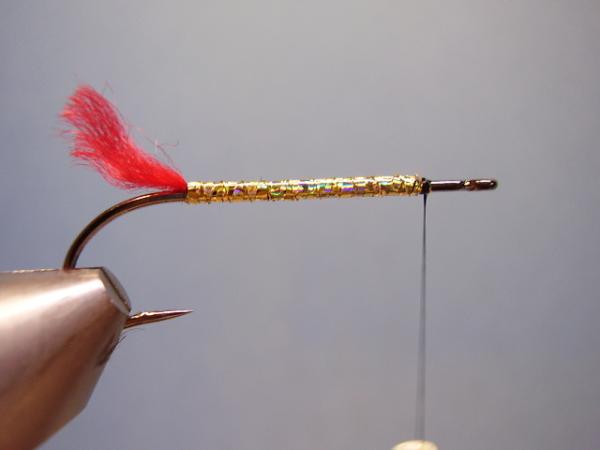
Grasp your wire and begin counter-wrapping it with the first turn passing under the tail.
Continue forward with open, even spacing. Secure as with the tinsel.
Clip excess. Notice I still have plenty of bare shank.
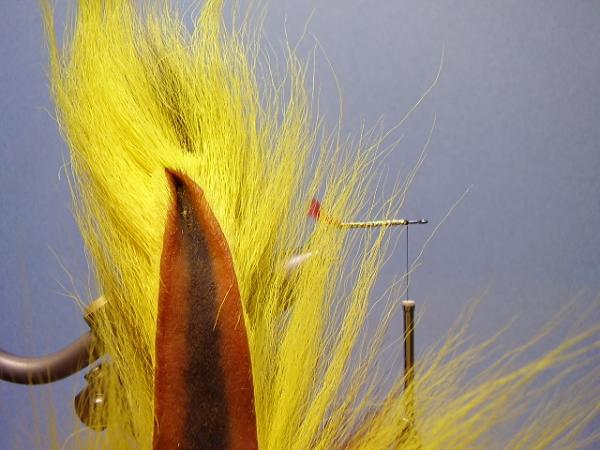
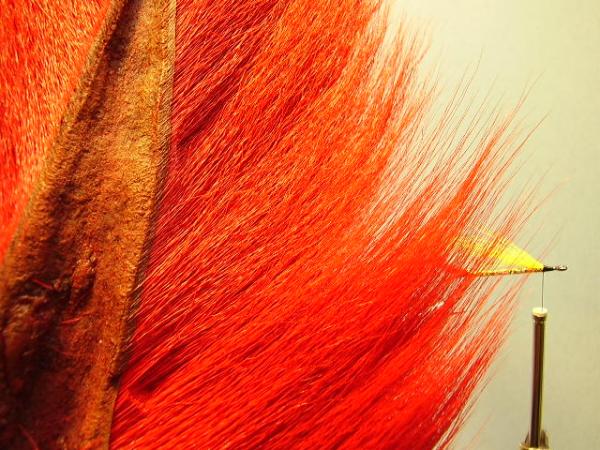
Find a yellow bucktail.
Separate a small bunch of hair--try to find fine hair with unbroken tips.
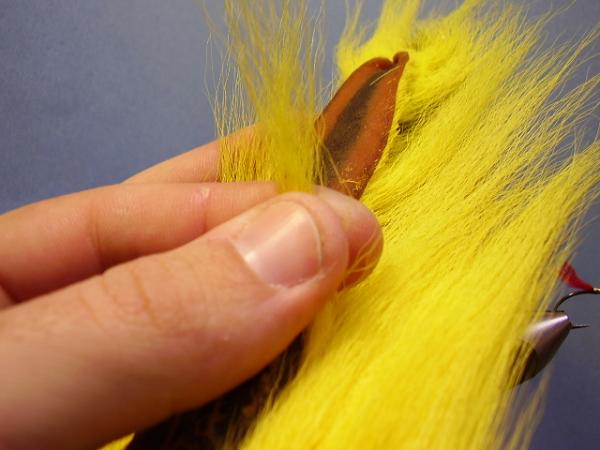
Hold the bundle near the tips with your non-bobbin hand and pull from the base with you other hand to remove the shorts.
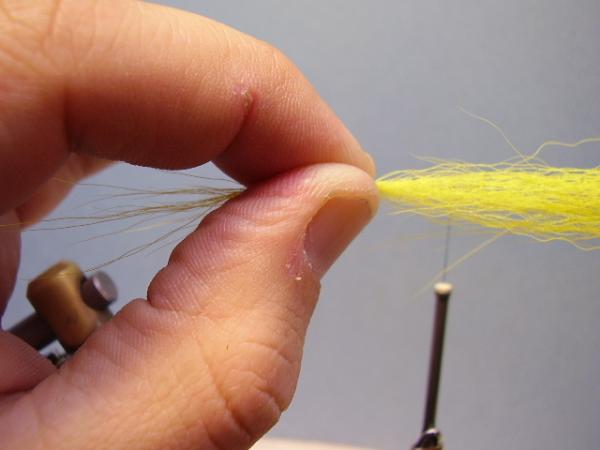
Roughly arrange the remaining hairs so that there is some semblance of unity in the tips. You do not want to stack the hair as it will produce a paintbrush effect.
Measure the tips to extend a bit past the tail. Not too long or you'll have fouling issues.
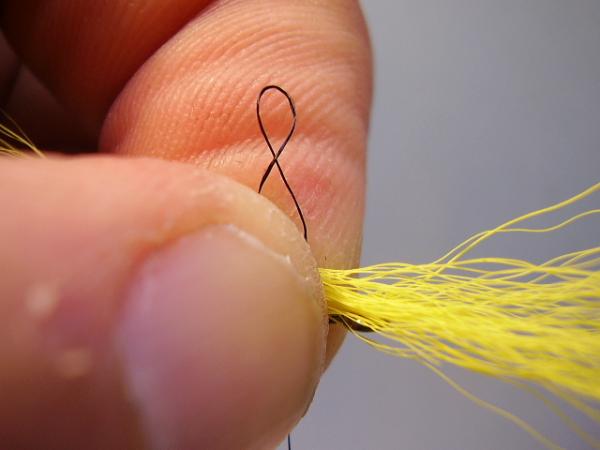
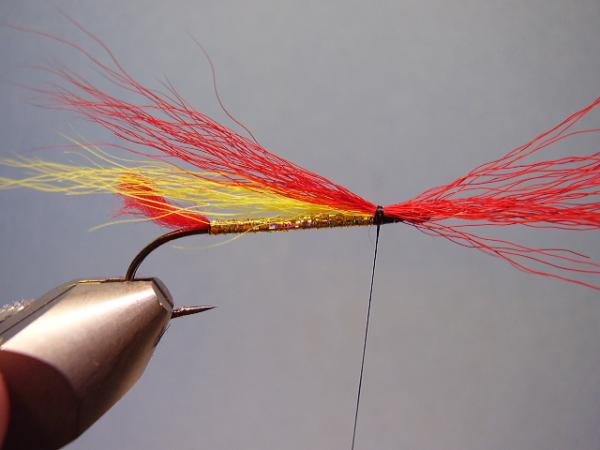
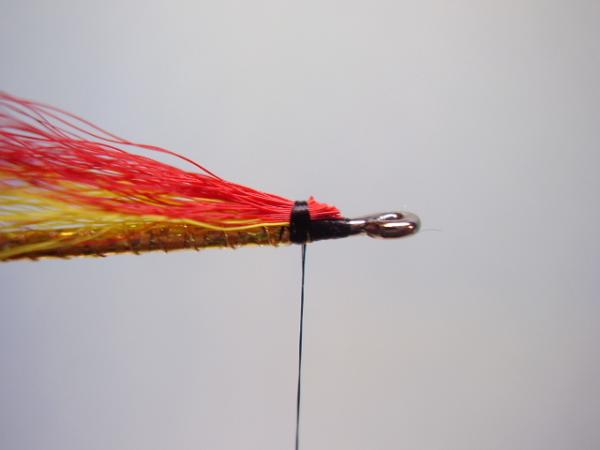
With 2 well-placed pinch wraps, secure the yellow hair to the hook at the end of the tinsel body.

Add two more tight wraps forward of the pinch wrap.
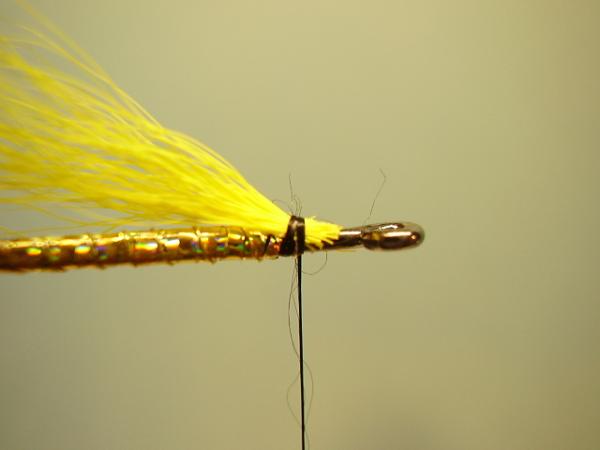
Clip the butt ends at an angle so the longer ends are against the hook shank, but fall well short of the eye.
Bind these down with as few tight wraps as possible.
Find a red bucktail.

Grasp a bunch of hair equal to the first.
After removing the shorts and aligning the tips, measure the tips to be equal to the first bundle.
Secure on top of the yellow hair using 2 pinch and 2 tight wraps in exactly the same place as you secured the yellow hair.
Red ON TOP of yellow.
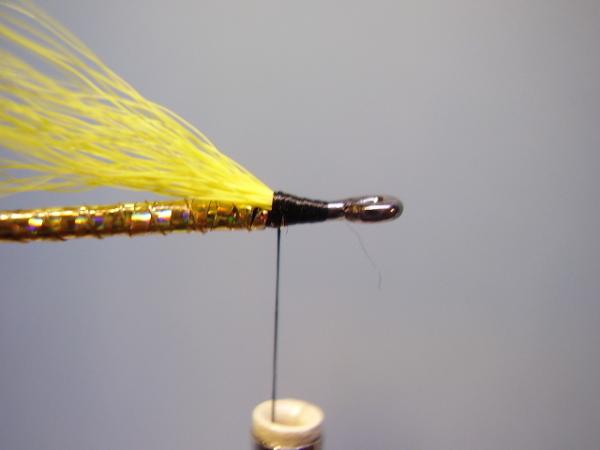
Clip the butts, again at an angle but this time the angle is more severe and the butts are cut a tad shorter.
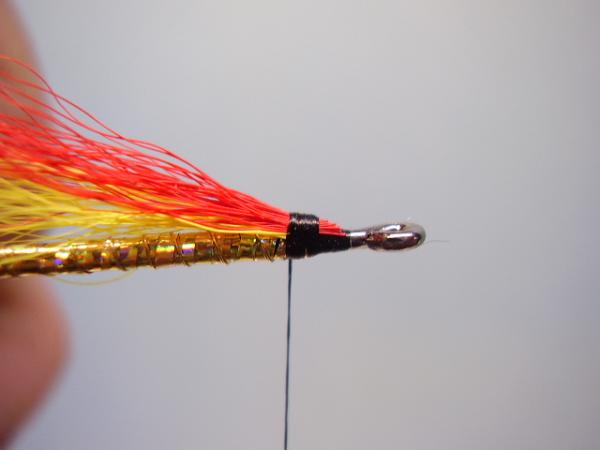
Bind these down with minimal tight wraps, and do not extend them as far forward as you did with the first layer. Be sure you are not developing a gap between the tinsel and the hair wing either.
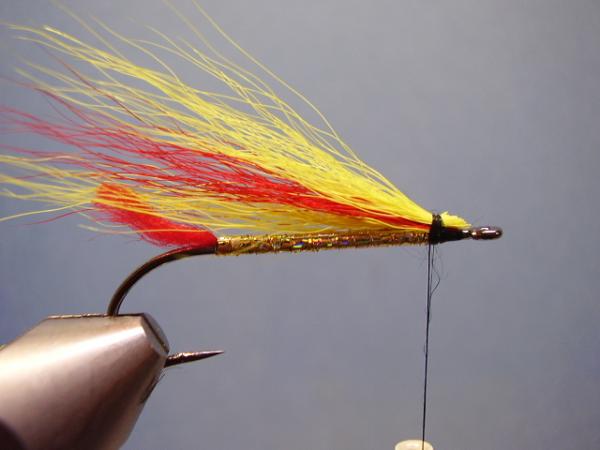
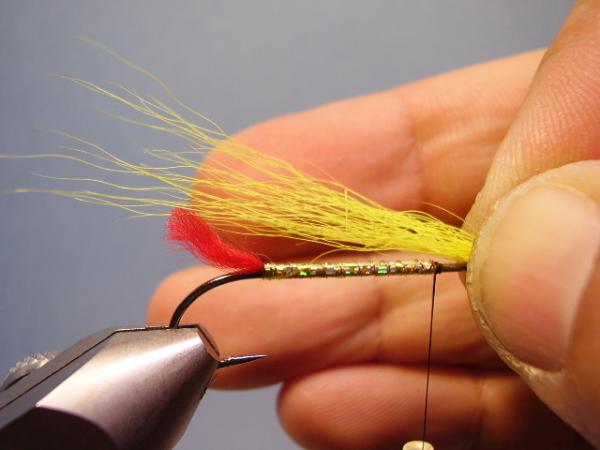
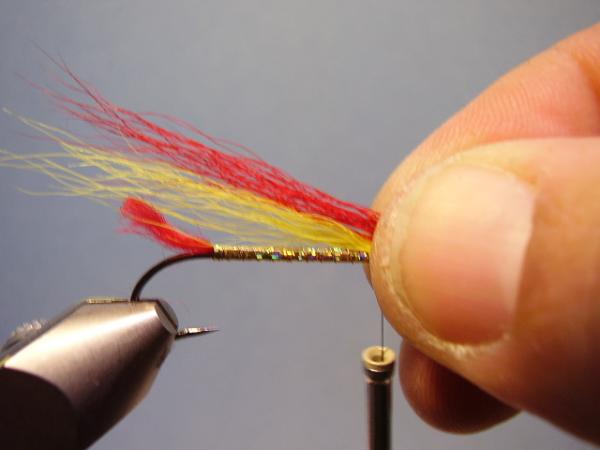
Repeat with a final layer of yellow hair, equal in density to the prior two. This time, cut an angle that mirrors the first (yellow).
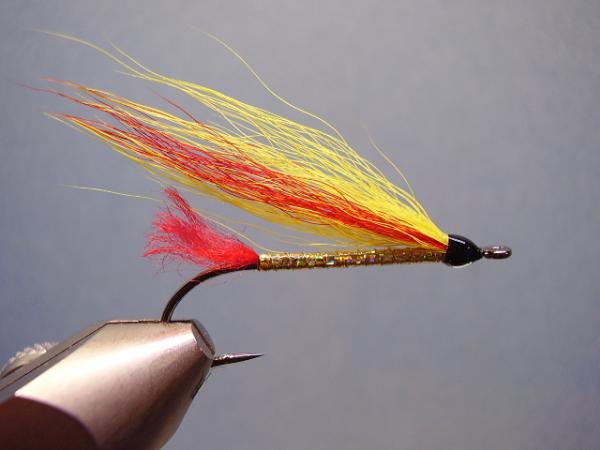
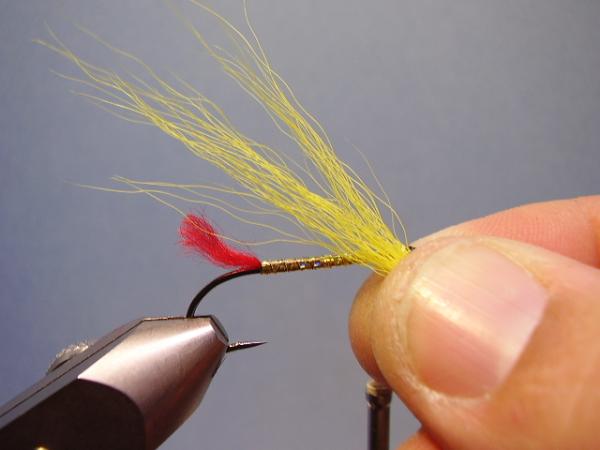
Form a tight, yet small thread head. The trick is to maintain tension and to respect the eye so that it does not get crowded. The key lies in trimming the hair butts correctly.
The above finished Mickey Finn was completed with 3 layers of Sally Hansen's Hard as Nails with a few minutes of dry time between each coat.