Archives of Loren Williams Fly Tying Tutorials.
Egan's Tungsten Tailwater Sow Bug
This is another of my favorite patterns from the Jedi grand-master, Lance Egan. While I am not privy to the details behind it's creation, I can speak volumes as to this sweet nugget's ability to take fish. For me, this is a pattern I look to when I am fishing crustacean-rich streams, especially if they see a high degree of angling pressure. It is impressionistic enough to take fish focused on gammarus or sow bugs, yet subjective enough to take fish that are feeding opportunistically.
I typically enter the stream well-armed with these bug in sizes #14-#18 but I am sure to carry a few in the #8-#12 range for dredging up fish in fast chutes. While I really enjoy this pattern's success on rainbows, it is not to say I do not catch ample browns, cutts, brook char (right Lance?), grayling, and whitefish while tossing it around.
If you'd care to have a real 'TTWSB' to look-over while tying your own, Umpqua Feather Merchants sells them tied on a TMC 3769 with 100% Wapsi Rainbow Sow-Scud dubbing. Lance introduced the dark hare's ear into the equation after the pattern went to mass-production. The jig hook has been a more recent acceptance of technological advancement. I will also note that Lance often includes a short tail of medium pardo CdL as shown in George Daniel's terrific book "Dynamic Nymphing."
Let's take a seat and get to work.
MATERIALS
Hook: 403 BLJ
Weight: Silver tungsten slotted bead
Thread: Red 6/0
Rib: Small silver wire
Abdomen: Blend of 50% Wapsi Rainbow Sow-Scud dubbing and 50% Wapsi Dark Hare's Ear Dubbing
Back: Sepia Prismacolor marker
Click photos to enlarge.
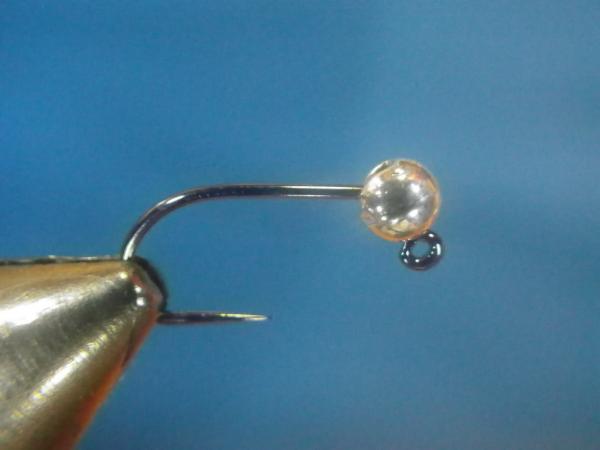
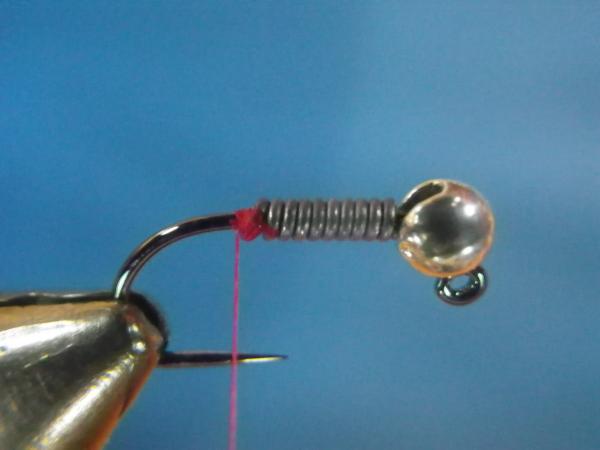
Slide the silver slotted tungsten bead on to the jig hook.
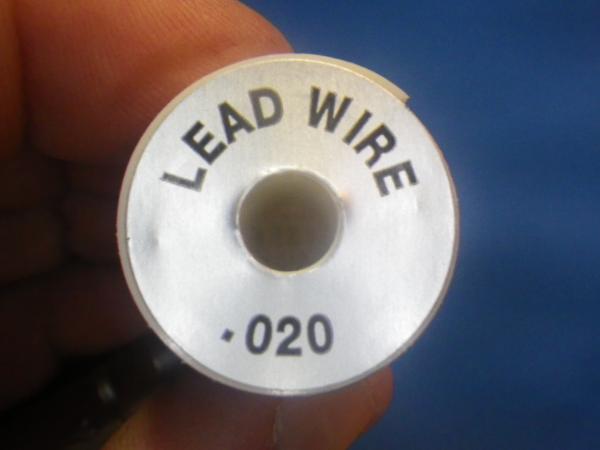
Select lead wire roughly equal to the hook's wire diameter.
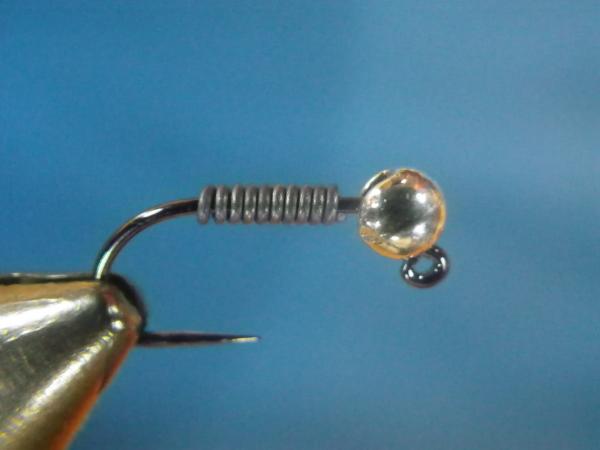
Make 10-12 wraps of lead around the shank.
Slide the lead tightly up against the bead.
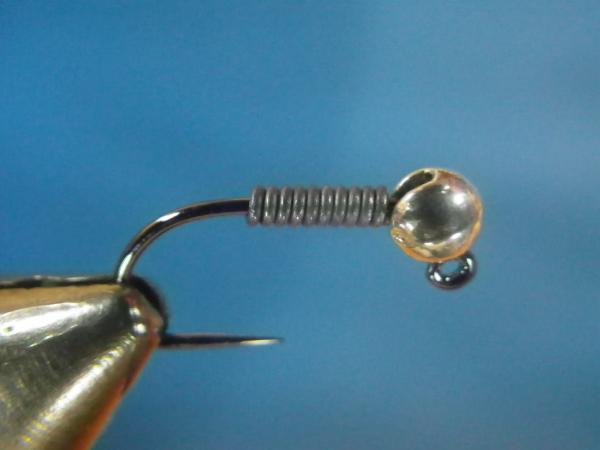
Start the red thread behind the lead wire, this helps keep it tight to the bead and begins to build a taper.
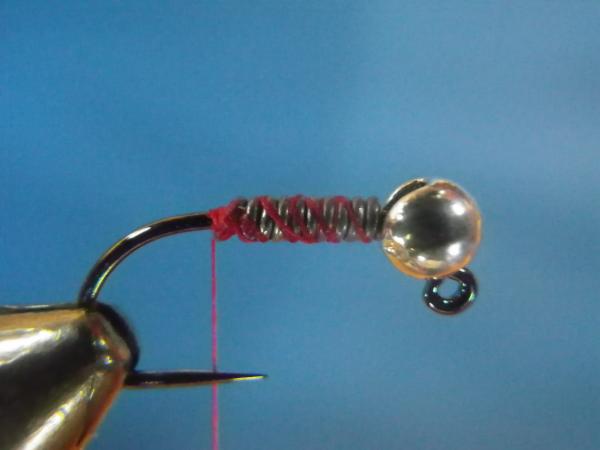
Wrap up to the bead and back again to really secure the lead.
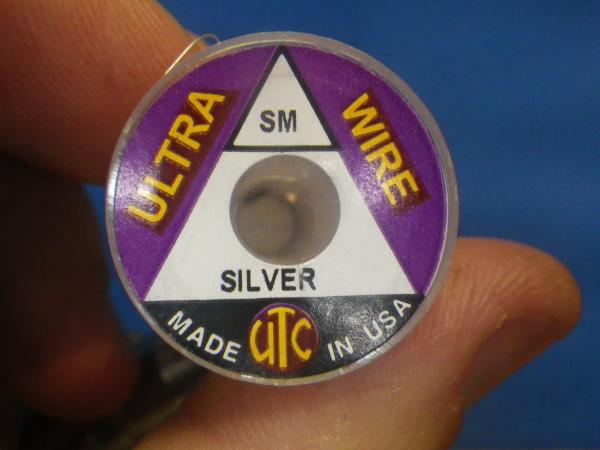
Cut a section of small silve wire. Make the section long enough to do several flies in order to reduce waste and increase the ease of use.
Lock in the wire immediately behind the lead.
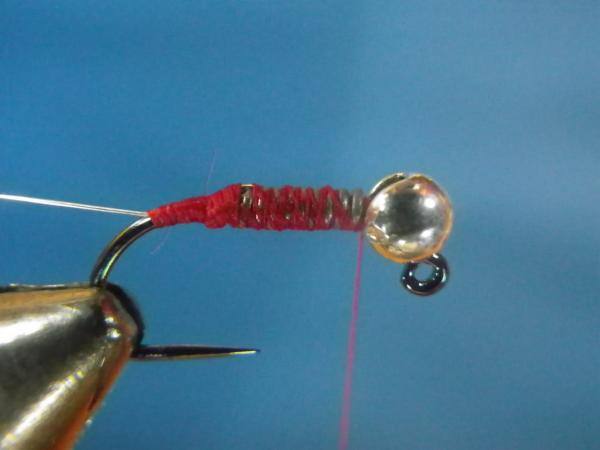
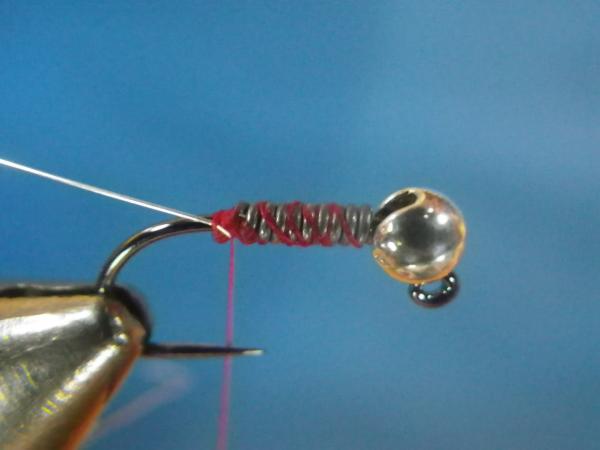
Wrap back on the wire until you reach the start of the bend. Leave the wire in your material clip and pass back-forth alonf the shank with your thread to build a smooth underbody and to cover the lead. Leave the thread hang behind the bead.

Blend together equal parts of Wapsi Rainbow Sow-Scud dubbing and Wapsi Dark Hare's Ear dubbing. I tie lots of these flies so I have a large batch for the taking. This material blends best in a coffee grinder.
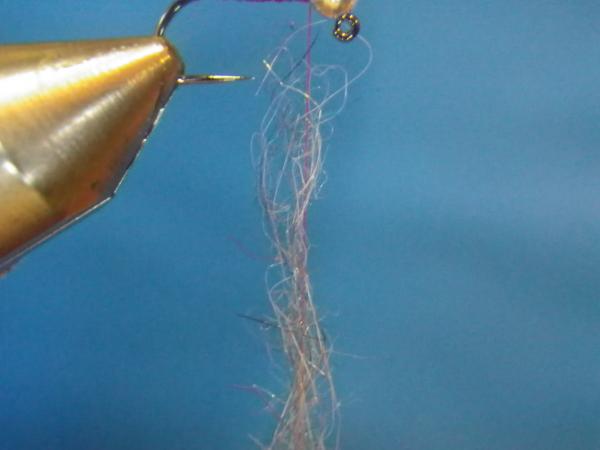
Apply a small amount of dubbing to the thread.

Twist it into a noodle by rolling it between your thumb and finger in one direction (not back and forth).
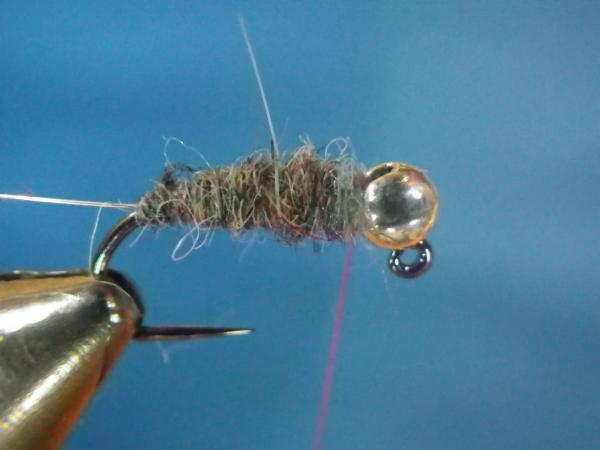
Dub a smooth, thin body-ending back at the bead.
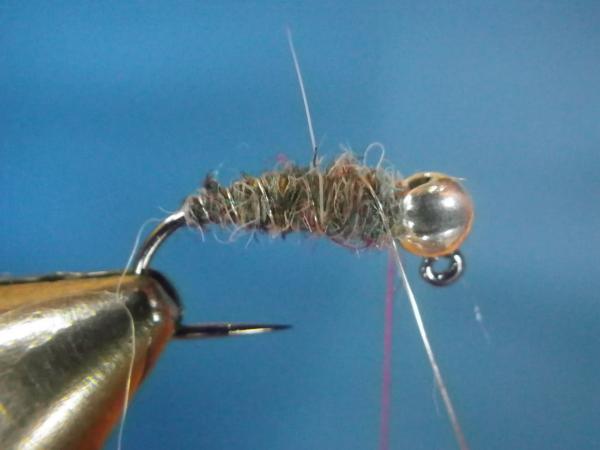
Make even and open reverse wraps of ribbing (notice the wire is being wrapped in the opposing direction to the dubbing).
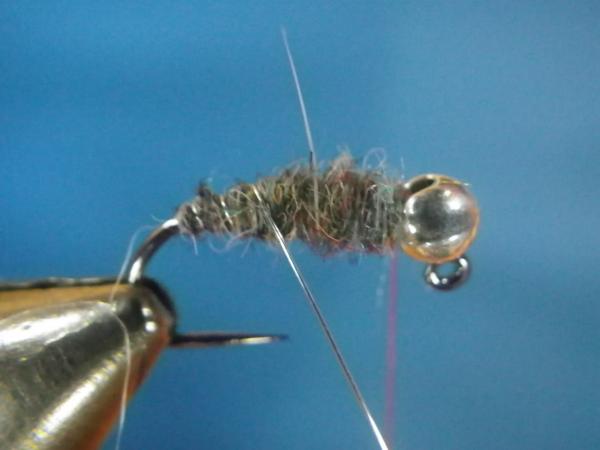
Last wrap comes across the top of the hook behind the thread...
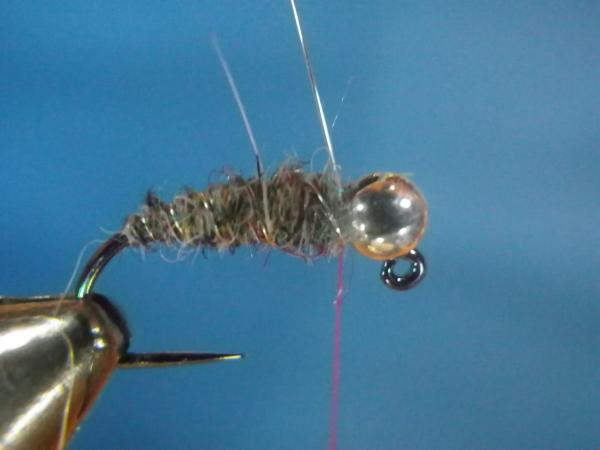
...passes under the hook in front of the thread and comes up and slightly to the rear on the opposite side.
Lock the wire in with 2-3 thread wraps. More is overkill.
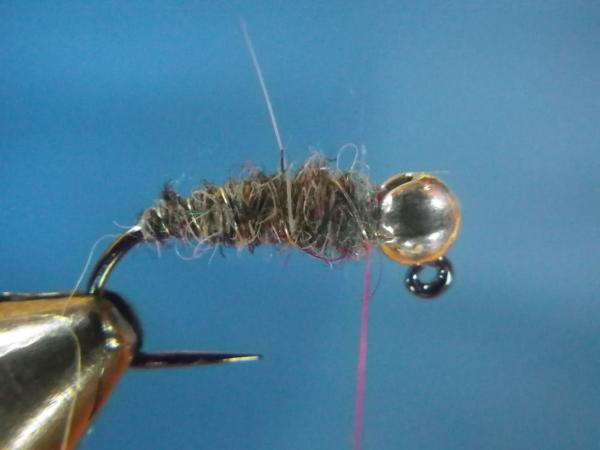
Snap-off the wire once it is secure.
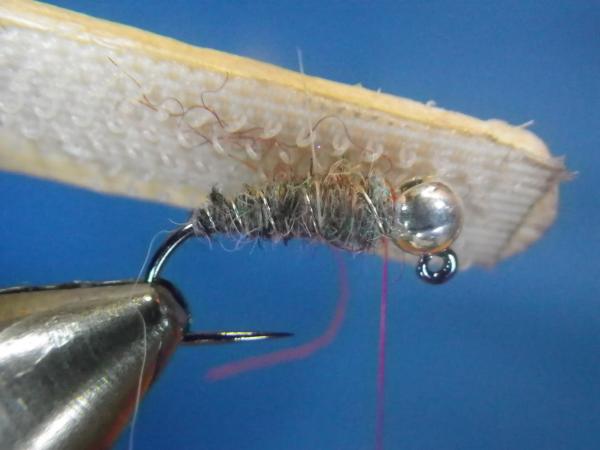
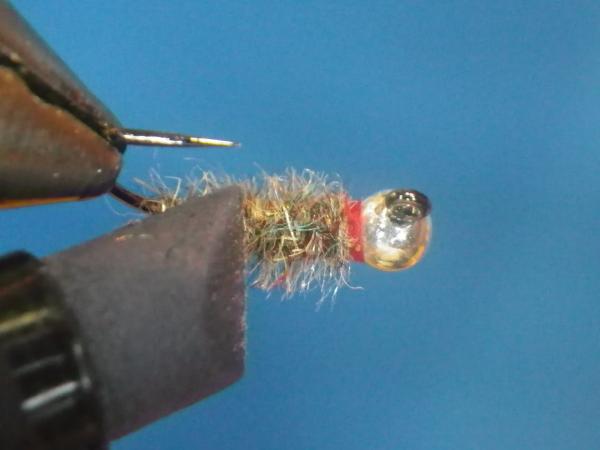
Take your Velcro brush and aggressively brush-out the bug; top, bottom, and sides.
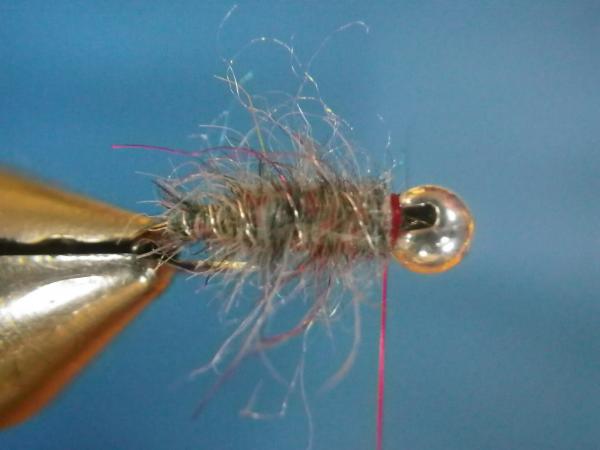
It should look roughly as such.
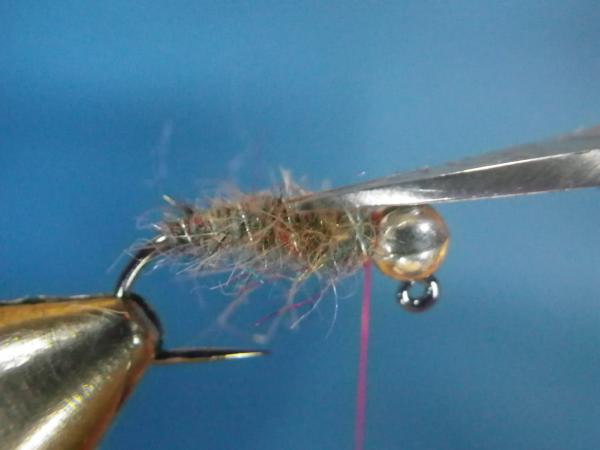
Clip the bottom (it is a jig hook) close.

Clip the top close.
Trim the sides at an angle which tapers from bead to bend.
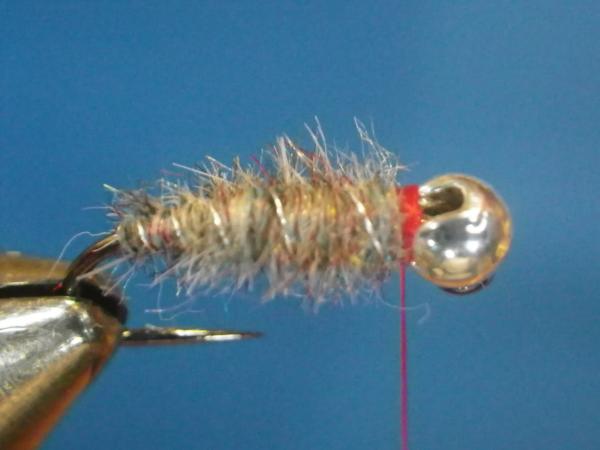
Build a small hot spot "dog collar," then whip-finish and clip the thread.
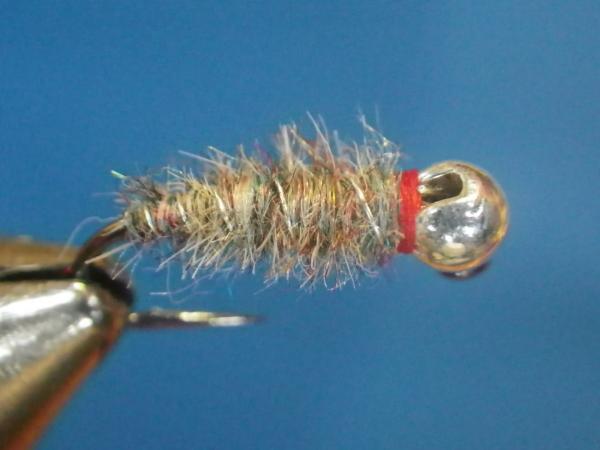
Color the back of the fly with a Sepia marker to darken it up.
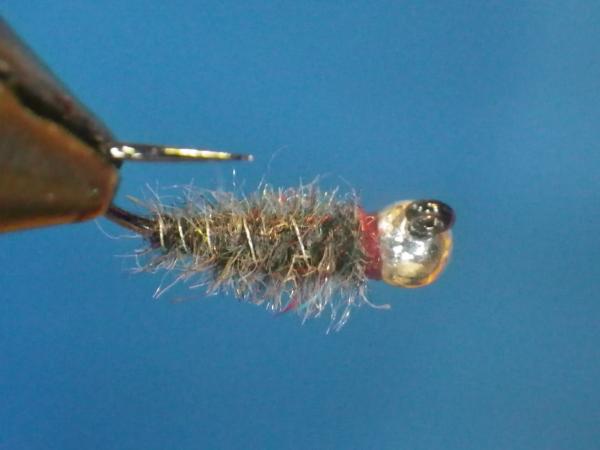
Wall-ah!