Archives of Loren Williams Fly Tying Tutorials.
Scrambled Egg
Fly and Photos by Loren Williams
The Scrambled Egg has become a very popular pattern for our Great Lakes steelhead, and I assume for trout and steelhead wherever they exist. Although I am not aware of the actual originator, this pattern is clearly of the Sucker Spawn lineage. What makes it unique are its tighter loops and distinct contrast. Whereas Sucker Spawn can add a hot spot or dot amidst the looser loops of yarn like Jeff Blood's variation the "Blood Dot," the Scrambled Egg typically uses different colors in the lateral half or third of the fly.
I suppose the argument can be made that this pattern imitates a single egg or cluster of eggs, but I still find it an awkward rationale at best. In my opinion this is clearly an attractor pattern well suited to fresh run steelhead where the main purpose of your fly is to get seen! To that degree it succeeds well. I also enjoy the contrast possibilities as I am a huge proponent of "hot spots" in flies, feeling that the points of accent make a fly more visible and attractive.
This fly is not so robust that it will float high off the bottom like a too-dense Glow Bug but it will tend to ride up in the face of bottom dwelling fish which is a positive trait. However, fish it carefully as its vast surface area may cause it to get pushed out ahead of your weight and that will likely translate to missed fish. For this reason I do not recommend it for drift fishing applications as it is far better suited to sound indicator practices.
MATERIALS
Hook: Stout Curved Scud Hook (#6-#10)
Thread: to match or blend with lightest color
Body: Contrasting Colors of Egg Yarn
Click photos to enlarge!
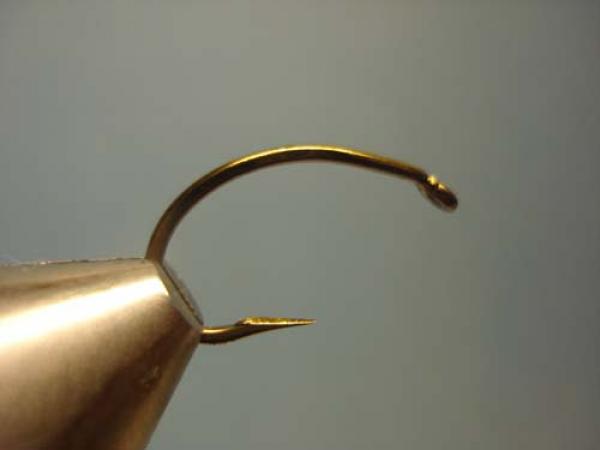
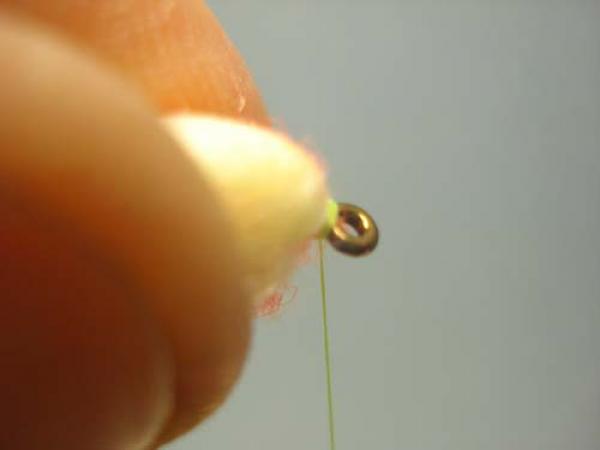
Place a barbless hook in the jaws of your vise.
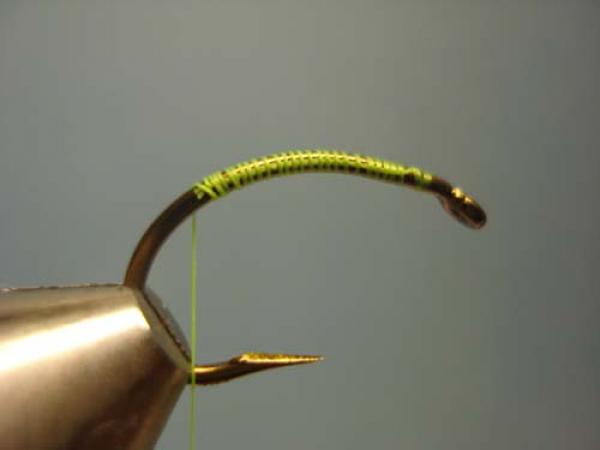
Start a jam knot behind the eye and run a base of thread back to the bend.
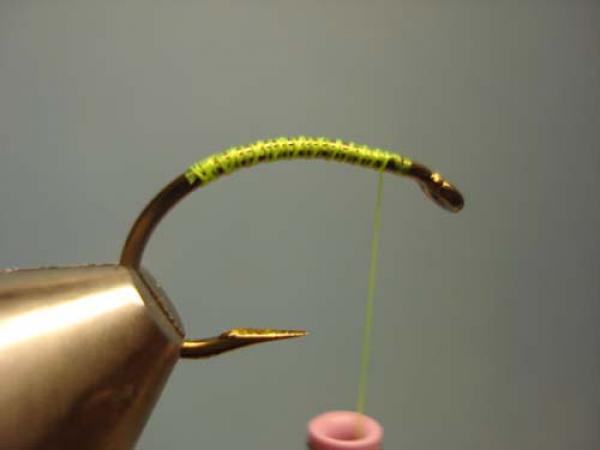
Then return the thread forward stopping well short of the hook eye. This thread base will help roughen the hook shank surface to better grip the slick egg yarn, otherwise it will tend to slide around the shank.

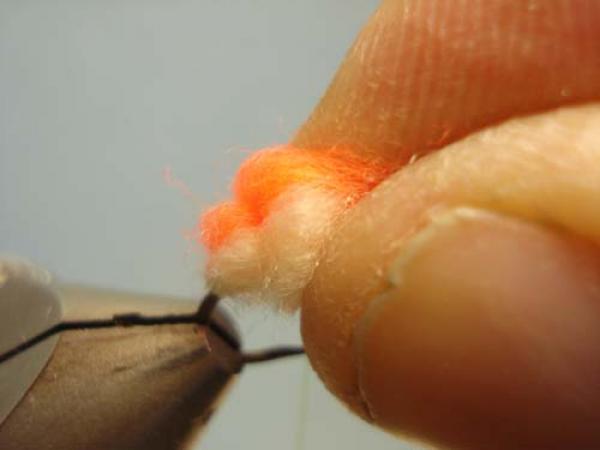
Select one color of egg yarn and split it roughly in half. The exact amount will depend on three things: 1) the hook size, 2) the original diameter of the egg yarn, and 3) the number of colors you intend to use.
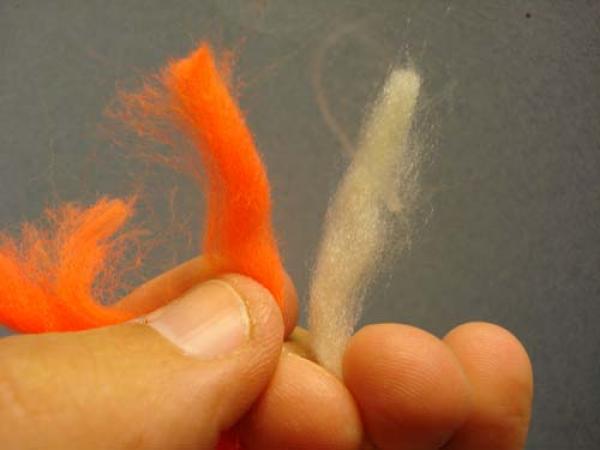
Select the next color and repeat. Be sure all colors are of the same diameter.
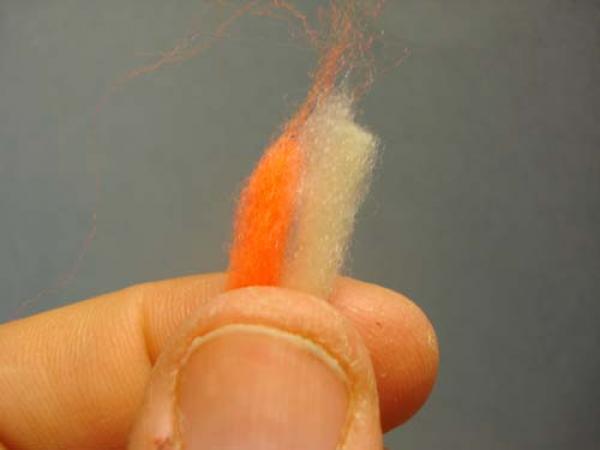
Place the contrasting sections of yarn together.
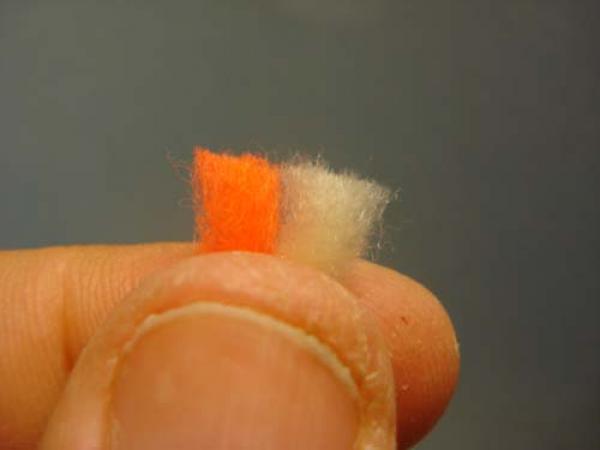
Snip the ends square.
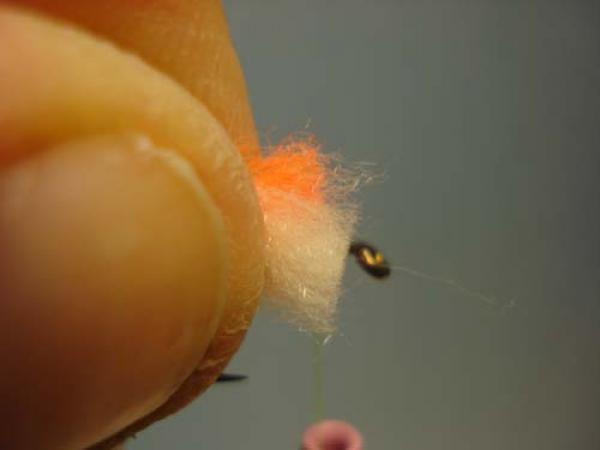
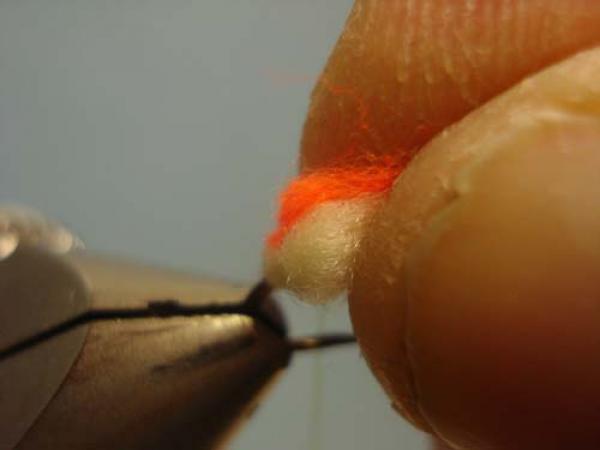
With the clipped ends facing forward but well shy of the hook's eye, lay the yarns atop the hook shank and secure them just behind the eye.
Bind the yarns to the rear with open and tight wraps of thread.
Bind them again going forward...
..then back again to the rear. Make sure the final wraps are tight and that there is no exposed thread underneath the yarn bundle if you lift it up.
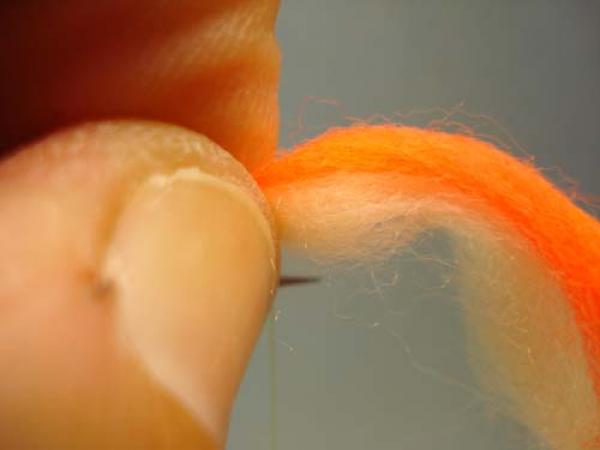
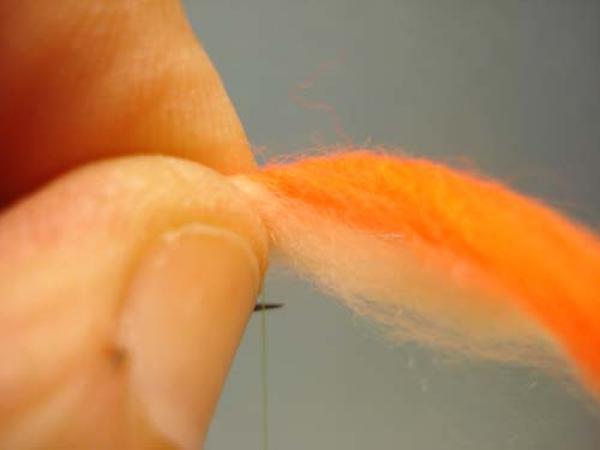
Grasp the yarn bundle, keeping clear definition between the colors, and pull it rather tightly forward.
Make 2 tight wraps of thread around the bundle slightly forward of the rear.
Note: if you can see thread on the shank behind the yarn once you pull it forward, regress and secure the bundle to the shank further to the rear.
Gently pull the bundle to the rear...
and tightly advance the thread forward a bit.
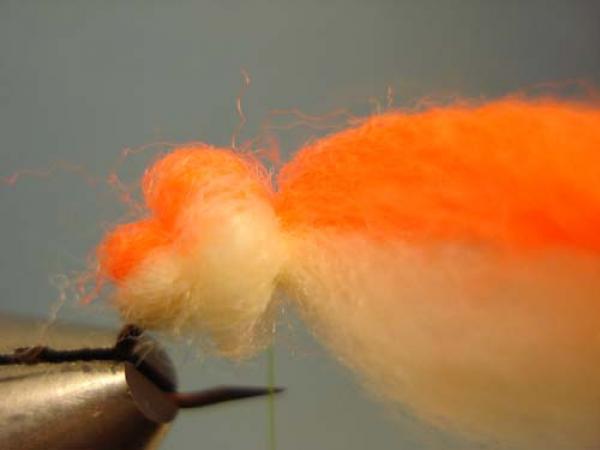
Pull the bundle forward again then push the "loop" slightly to the rear to cover the previous thread wraps.
With your non-bobbin hand pinch and hold the pushed loop in place.

Secure the loop with 2 tight thread wraps.
Pull the bundle back, advance the thread, then create a new pushed loop again covering the previous thread wraps.
Pinch the new pushed loop to keep it in place.
Secure the loop with 2 tight thread wraps.
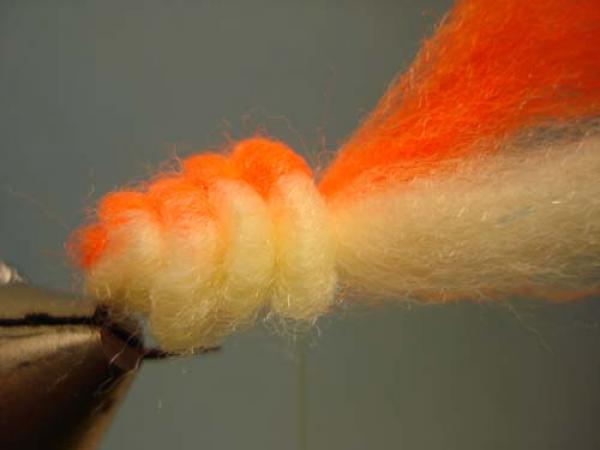
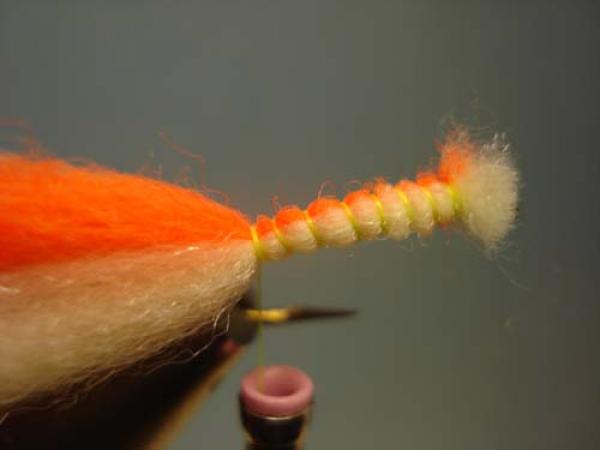
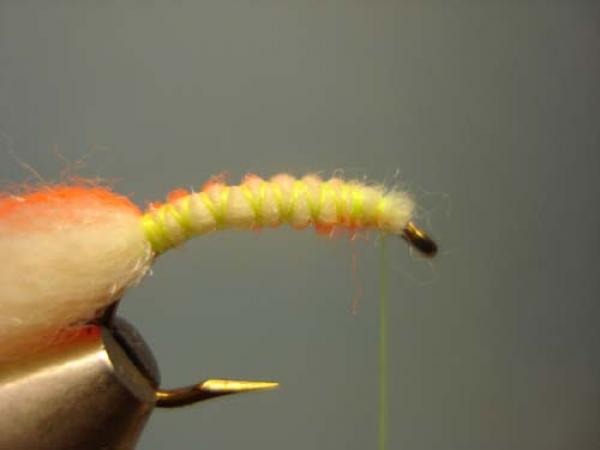
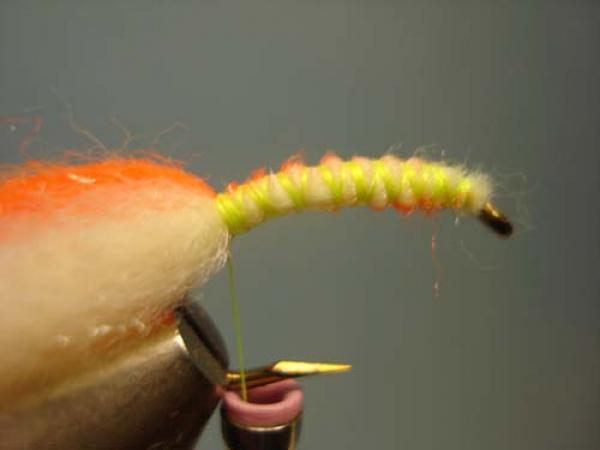
Repeat the process forward, adding 2 or 3 more "loops." Stop short of the eye.

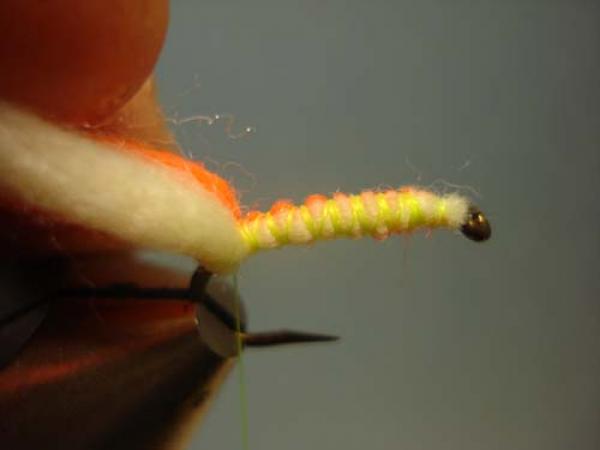
Once the final loop has been secured, lift the yarn bundle to the rear and begin to build a head underneath, just behind the hook eye.
The "head" should be tight yet small. Whip finish once done.
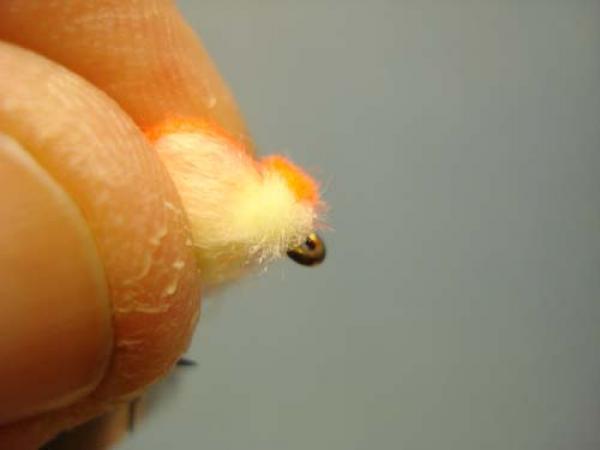
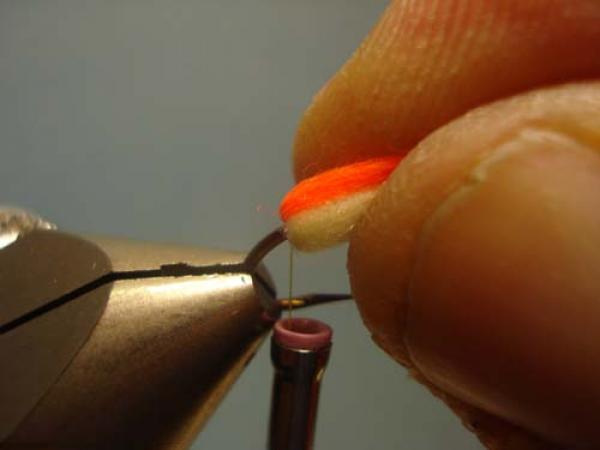
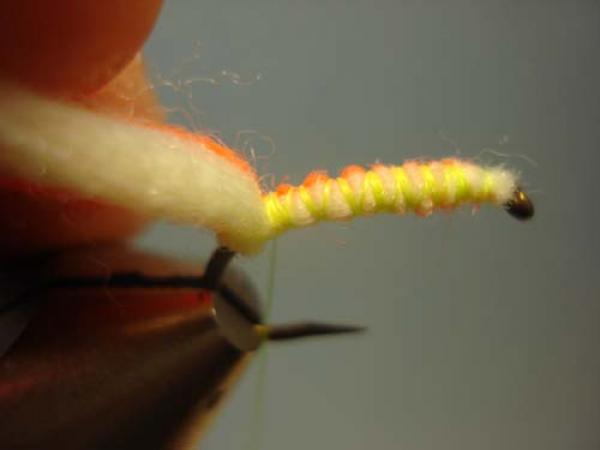
Clip the yarn bundle close. By building the "head" under the yarn you eliminate the possibility of cutting the thread while clipping the yarn.
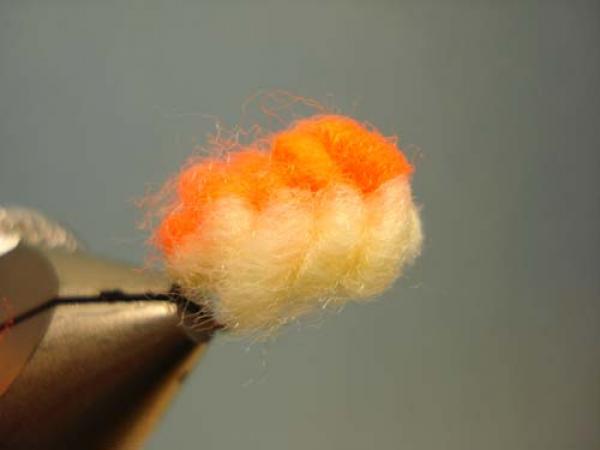
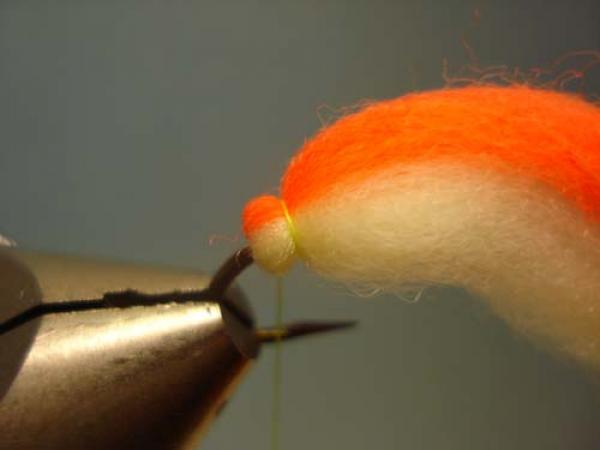
A finished Scrambled Egg.
